








The Ultimate LED Display Installation Guide for Business Success
Introduction: Why Proper Installation Matters More Than You Think
You've invested in a state-of-the-art LED display to captivate your audience, boost brand visibility, or streamline internal communications. But even the most advanced technology can fail to deliver if installation is rushed or poorly planned. A 2023 industry report revealed that over 30% of commercial LED display performance issues stem from improper installation—ranging from misaligned panels to inadequate ventilation. For B2B buyers, these mistakes translate into costly downtime, reduced lifespan, and lost ROI.
This LED display installation guide is designed to help you avoid these pitfalls. Whether you're deploying a video wall in a corporate lobby, a digital signage network in a retail chain, or a large-format display in a conference room, you'll learn the critical steps to ensure a seamless setup. At Riotouch, we've helped hundreds of businesses achieve flawless installations with our precision-engineered interactive flat panels and LED displays. Let's walk through the process together.
Pre-Installation Planning: The Foundation of Success
Before a single panel is mounted, thorough planning is essential. This phase accounts for structural, environmental, and technical considerations that directly impact your display's performance.
- Site Survey and Structural Assessment: Evaluate the mounting surface—drywall, concrete, or steel framing. For large LED walls, ensure the wall can bear the weight (often 30-50 kg per square meter). Use a stud finder or consult a structural engineer for commercial settings.
- Environmental Factors: Check ambient lighting, temperature, and humidity. Indoor LED displays typically operate best at 0-40°C with 10-80% relative humidity. Avoid direct sunlight or heat sources that can cause overheating.
- Power and Cable Management: Calculate total power consumption (e.g., a 2x2 LED wall may draw 500-800W). Plan for dedicated circuits and surge protection. Run signal cables (HDMI, DisplayPort, or Ethernet) separately from power lines to reduce interference.
- Viewing Distance and Angle: Determine optimal pixel pitch based on viewing distance. For example, a P2.5 LED display (2.5mm pixel pitch) is ideal for 2-5 meter viewing, while P4 works for 5-10 meters. Riotouch offers customizable pixel pitches to match your space.
Pro tip: Create a detailed installation checklist and share it with your team or contractor. This reduces errors and ensures accountability.
Step-by-Step Installation Process: From Unboxing to Calibration
Once planning is complete, follow these steps for a smooth installation. Always refer to the manufacturer's manual, but this LED display installation guide covers universal best practices.
1. Unboxing and Inspection
Carefully unpack panels in a clean, dry area. Check for physical damage, loose connectors, or missing screws. Verify that all components—power supplies, controllers, mounting brackets, and cables—are included. For Riotouch displays, each panel undergoes rigorous quality control, but a quick visual check prevents surprises.
2. Mounting and Assembly
Use a laser level to mark mounting points. For wall-mounted installations, secure brackets to studs or use heavy-duty anchors for concrete. For floor-standing video walls, ensure the base is level. Assemble panels from bottom to top, locking them together with included clips or magnets. Riotouch's modular design simplifies alignment, with tool-free locking mechanisms that reduce setup time by 40%.
3. Electrical and Signal Connections
Connect power cables to each panel, daisy-chaining if supported. Use shielded signal cables to maintain data integrity. For large walls, use a video processor to manage input sources and scaling. Test each connection before finalizing—loose cables are a common cause of flickering.
4. Calibration and Testing
Power on the display and run calibration software. Adjust brightness (typically 500-800 nits for indoor), color temperature, and contrast. Use a colorimeter for precise uniformity. Perform a full-screen test to check for dead pixels, banding, or ghosting. Riotouch displays include auto-calibration features that ensure consistent brightness and color across panels.
Common Installation Mistakes and How to Avoid Them
Even experienced installers can make errors. Here are the top pitfalls from B2B deployments:
- Ignoring Ventilation: LED panels generate heat. Blocking airflow can reduce lifespan by 20-30%. Ensure at least 10-15 cm of clearance behind the display for passive cooling or use fans for high-brightness setups.
- Poor Cable Management: Tangled or exposed cables not only look unprofessional but can cause signal degradation. Use cable trays, raceways, or in-wall conduits. For Riotouch installations, we recommend our integrated cable management system for a clean finish.
- Skipping Firmware Updates: Outdated firmware can cause compatibility issues or reduced performance. Update all controllers and processors before final installation.
- Incorrect Pixel Pitch Selection: Choosing a pitch too large for the viewing distance results in a grainy image. A pitch too small increases cost unnecessarily. Use Riotouch's online calculator to match pitch to your space.
Practical Buyer's Guide: Choosing the Right LED Display for Your Business
Installation success starts with the right product. Here's what B2B buyers should consider:
- Indoor vs. Outdoor: Indoor displays have lower brightness (500-1000 nits) and finer pixel pitches. Outdoor units require higher brightness (2000-5000 nits) and weatherproofing (IP65 rating). Riotouch offers both lines with customizable enclosures.
- Pixel Pitch: For corporate lobbies or boardrooms, P1.5 to P2.5 is standard. For retail or event spaces, P3 to P6 works well. Always test with sample content.
- Interactive Features: If you need touch capability, consider Riotouch's interactive LED displays with multi-touch overlay technology. These combine vibrant visuals with intuitive interaction for education, training, or collaboration.
- Warranty and Support: Look for at least 3-year warranty and on-site support. Riotouch provides 24/7 technical assistance and a dedicated project manager for B2B clients.
Final Tips for a Flawless LED Display Installation
To maximize your investment, keep these best practices in mind:
- Always perform a 72-hour burn-in test before full deployment to identify early failures.
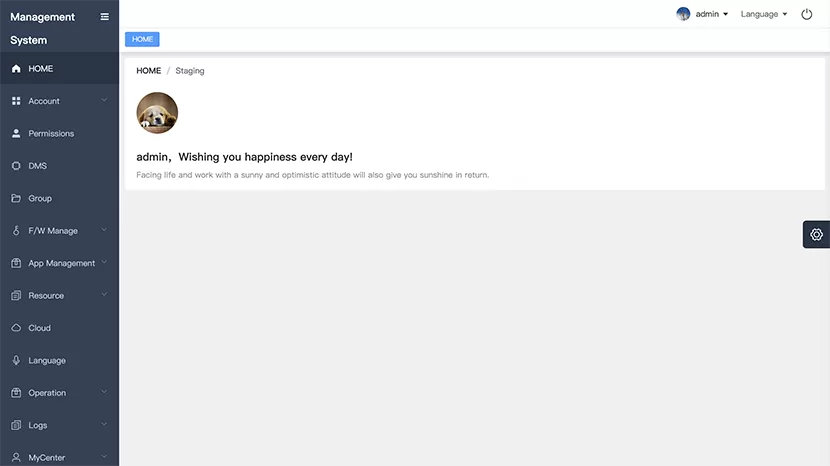
- Use a content management system (CMS) to schedule and update content remotely—saves time and ensures consistency.
- Train your staff on basic maintenance, such as cleaning with microfiber cloths and checking connections quarterly.
- Partner with an experienced installer or rely on Riotouch's certified installation team for complex projects.
Ready to Elevate Your Space? Contact Riotouch Today
This LED display installation guide has equipped you with the knowledge to plan, install, and maintain a high-performance display. But every business has unique needs—from custom sizes to integrated touch functionality. At Riotouch, we don't just manufacture displays; we deliver end-to-end solutions, including pre-installation consultation, delivery, and professional installation support.
Don't leave your visual communication to chance. Contact Riotouch today for a free consultation. Our experts will help you choose the perfect LED display, provide a detailed installation plan, and ensure your project runs smoothly from start to finish. Visit www.riotouch.com or call +86-755-XXXXXXXX to get started.


