As a core tool for modern teaching and conferences, the professionalism of the assembly process of the interactive projection whiteboard directly affects the performance and user experience of the device. This blog will disassemble the assembly process in detail, covering tool preparation, hardware installation, software calibration and common problem solving, to help you quickly build an efficient interactive space.
Preparation before assembly: tools and site planning
Tool list
Electric drill, expansion screws, level, screwdriver set (cross/slotted) Tape measure, laser rangefinder (optional), marker pen HDMI/USB cable, power extension cable, cable tie (for cable management)
Site requirements
Wall flatness error ≤3mm (to avoid projection distortion) Ambient light controllable (it is recommended to install blackout curtains to reduce projection interference) The power socket is located close to the device to avoid the risk of exposed cables
Step-by-step assembly process
1. Install the bracket and fix the whiteboard
Step 1: Positioning mark
According to the size of the whiteboard (such as 80 inches), measure the wall and mark the installation point (usually two people are required). Use a level to ensure that the marked point is horizontally aligned with an error of ≤1°.
Step 2: Fix the bracket
Drill holes at the marked point with an electric drill, insert expansion screws, and fix the metal bracket to the wall. Tip: The support weight must be ≥ 1.5 times the weight of the whiteboard (for example, if the whiteboard weighs 20kg, the support weight must be more than 30kg).
Step 3: Mount the whiteboard
Hang the whiteboard into the bracket slot and secure it with a safety lock to prevent accidental falling off.
2. Projector installation and adjustment
Step 1: Select the projection method
Front projection: The projector is placed in front of the whiteboard, suitable for large classrooms. Rear projection: The projector is placed behind the whiteboard, and a dedicated light-transmitting whiteboard is required to avoid being blocked by human shadows.
Step 2: Calculate the projection distance
According to the projector focal length parameters (such as projection ratio 1.2:1), the formula is: projection distance = screen width × projection ratio. Example: 80-inch whiteboard (1.8m wide), projection distance = 1.8×1.2≈2.16 meters.
Step 3: Fix the projector
Ceiling: Use a bracket to fix the ceiling and adjust the pitch angle until the picture fills the whiteboard. Desktop placement: With an adjustable bracket, ensure that the projection axis is aligned with the center of the whiteboard.
3. Connect hardware and power
Step 1: Cable wiring
Connect the HDMI cable (transmitting the image) and USB cable (touch signal) to the computer, and connect the power cord to a voltage-stabilized socket. Use cable ties to secure the cables to avoid entanglement or tripping risks.
Step 2: Power-on test
Start the whiteboard, projector, and computer in sequence to confirm that the image is displayed normally without color cast or flickering.
Software calibration and function test
1. Touch calibration
Open the whiteboard driver software (such as Riotouch Calibration Tool), and click the four corners and center of the screen in sequence according to the prompts. Calibration accuracy requirements: Touch point offset ≤2mm, otherwise recalibration is required.
2. Projection alignment adjustment
Use the software keystone correction function (Keystone Correction) to manually or automatically adjust the projection edge to completely overlap with the whiteboard frame.
3. Interactive function verification
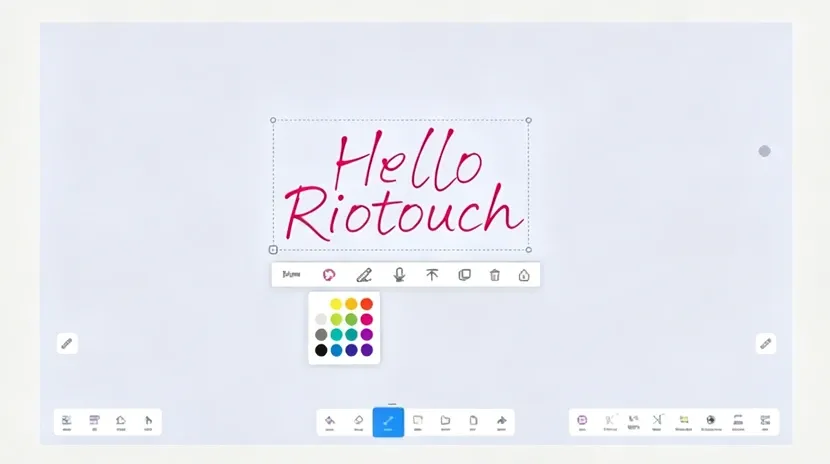
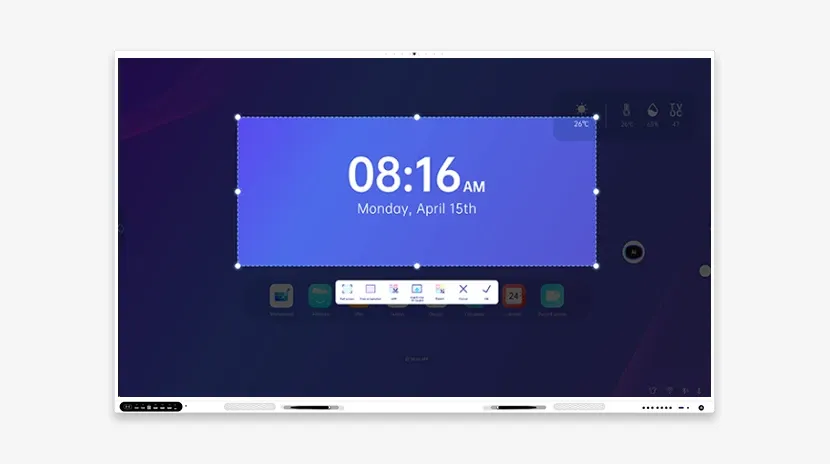
Pen test: Write with a stylus or finger to check the delay and trajectory continuity. Multi-touch: pinch to zoom/rotate the image, and confirm the response sensitivity. Software linkage: Test the collaborative operation with tools such as UMind whiteboard and UCut screenshot.
4. Common problems and solutions
Blurred projection image
Check the lens cleanliness and adjust the focus knob. Confirm the resolution match (1920×1080 is recommended).
Touch failure
Recalibrate the touch signal and check if the USB interface is loose. Update the driver to the latest version.
Distortion at the edge of the image
Adjust the position of the projector or enable the geometric correction function.
5. Safety and maintenance recommendations
Safety regulations
Avoid frequent power on and off, with an interval of ≥30 seconds. Unplug the power supply during thunderstorms to prevent surge damage.
Daily maintenance
Clean the surface of the whiteboard with a microfiber cloth every week, and do not use alcohol or corrosive cleaners. Regularly check the tightness of the bracket screws to prevent loosening.
Professional assembly, unleash the potential of the device
Correct assembly of the projection interactive electronic whiteboard is the key to ensuring its performance and life. Through precise positioning, strict calibration and standardized maintenance, you can maximize its teaching and collaboration value. If you need technical support, please contact Riotouch's professional installation team and enjoy one-stop service!