Riotouch Whiteboard Software & Calibration Driver: Download Guide
Short answer: you do not need the original CD or USB stick. Every Riotouch board ships with its software pre-installed on the Android side, and the installers — whiteboard app, system firmware and the calibration tool for the PC/OPS side — are published in our Firmware Center. Download the package that matches your board, copy it to a USB drive, and install it on the panel or on the OPS PC.
This guide is written for the two situations we get asked about most often: a school that lost the software disc that came with the boards years ago, and a customer who reinstalled Windows on the OPS PC and now finds the touch is not aligned any more. Both are fixed in under 30 minutes.
What you need before you start
- Your model and board generation — printed on the label on the back of the panel: RK3576 or RK3588/A15/A16 style modules, or the RP/RK model code (for example RP3576BD, RP3588BD).
- A USB 3.0 drive formatted as FAT32 (for installing on the panel).
- A Windows PC or laptop, for the OPS-side software and the calibration tool.
- The panel's serial number (SN), in case you need us to confirm the right package.
Step 1 — Find the right package in the Firmware Center
Open the Firmware Center. Packages are grouped by board family and Android build, for example:
- RK3576 / RK3588 boards — the C4RIO builds (such as
RK3576BD_C4RIOandRK3588BD_C4RIO) with their release date in the file name. - Android 15 / Android 16 builds — pick the one that matches your board's current Android version, not the newest one available.
- Companion apps — wireless casting and screen-sharing tools (Eshare / Transcreen) live in the same folder as the board package.
If two packages look equally close, send us the model code and SN and we will point to the exact file. Installing a package built for a different board is the single most common cause of a “no image” or “update failed” error.
Step 2 — Install it on the panel (Android side)
- Copy the ZIP file to the root of the USB drive. Do not rename it and do not put it inside another folder.
- Insert the drive into the panel's USB port and open Settings → System → System update → Local update.
- Select the ZIP file and confirm. Keep the power connected during the update — the panel will restart once or twice.
- When it is back on the home screen, check Settings → About device and confirm the build number matches the package you installed.
If the panel has no internet access (common in classrooms), the USB route above is the intended offline method — there is no need to connect the board to Wi-Fi to update it.
Step 3 — Install the PC-side software and calibration driver
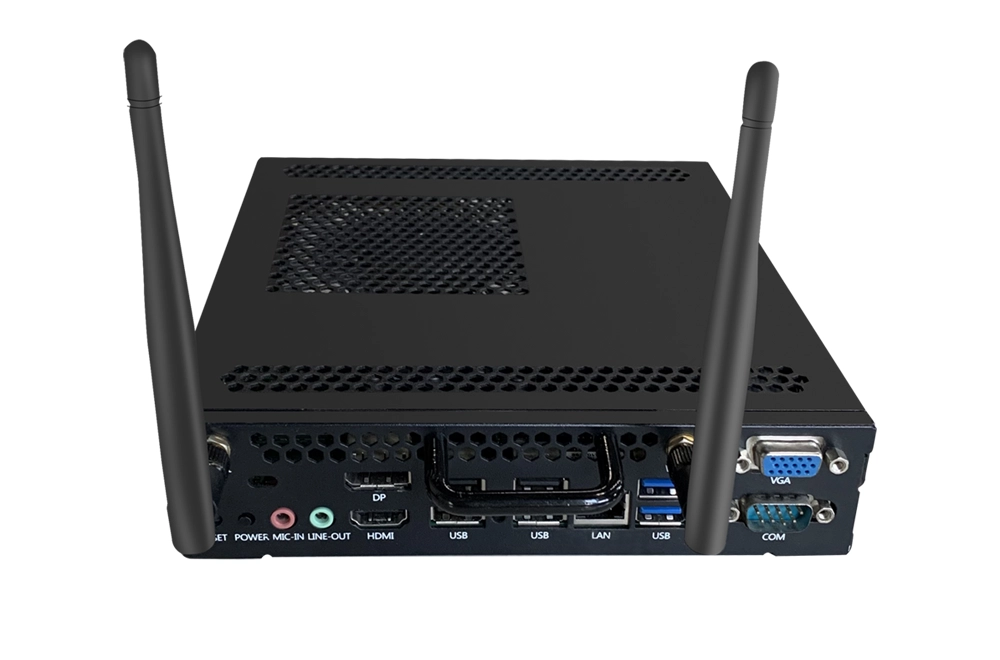
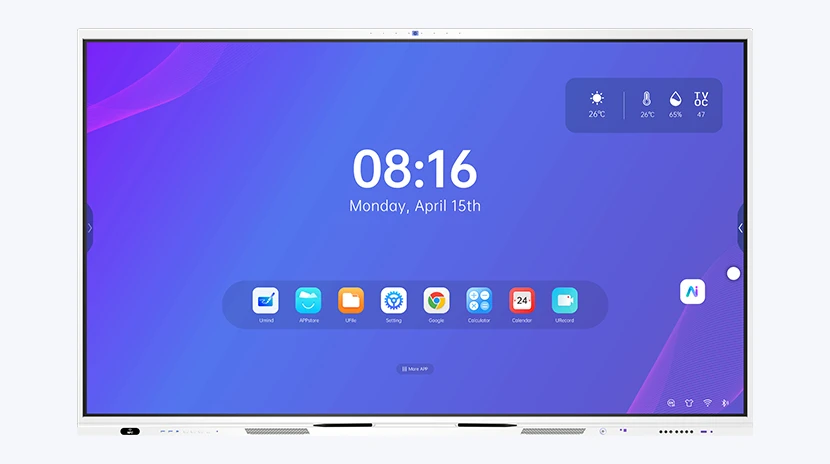
The board software runs on Android, but annotation, screen sharing and touch alignment on the PC side are handled by the Windows software. The overview of our software ecosystem — the DaisyOS whiteboard apps, the UMind toolset, the UCut utility and the classroom tools — is on the software page.
- Download the Windows installer from the Firmware Center or the software page and run it on the PC or OPS module.
- Connect the panel to the PC: USB touch cable first (this carries the touch signal), then HDMI.
- Open the whiteboard app and test writing in all four corners of the screen.
- If the drawing appears a few centimetres away from the pen tip, run the calibration tool: it walks you through 9 to 20 touch points and stores the alignment for the current resolution.
Calibration is bound to the resolution and to the PC it was done on. After a Windows reinstall, a driver update, or a change from 1080p to 4K, run it again — this solves the vast majority of “touch is off by a finger width” reports.
Step 4 — Verify and keep a copy
- Touch test: draw a diagonal line in each corner and confirm the line follows the pen tip.
- Write the installed build number and the calibration date in your maintenance log, so the next person does not have to guess which package is on the board.
- Keep the installer ZIP and the calibration tool on a shared drive. Discs get lost; a folder on the network does not.
Common problems and what they mean
- “Update failed” or the board does not boot after updating — the package did not match the board generation. Re-flash with the package for your model code.
- Touch works in Android but not in Windows — the USB touch cable is not connected, or the driver is missing on the PC side. Reconnect the touch cable and reinstall the Windows software.
- The board asks for a password — this is a security lock on some refurbished or ex-demo units. Contact support with your SN; we do not publish unlock codes here.
- The whiteboard app is gone after a factory reset — it is part of the system build, so re-installing the matching firmware package restores it.
FAQ
Do I have to pay for the software?
No. The whiteboard software, firmware and calibration tool for
boards bought from us are provided free of charge through the Firmware Center.
Can I update over the air instead of using USB?
Yes, if the panel has internet access: use
Online update in the same system-update menu. Offline USB installation gives the same result.
Where do I find my model code?
On the label on the back of the panel, and in
Settings → About device → Model. It looks like LT75… or RP3576BD / RP3588BD style codes.
Will an update erase my apps and files?
User data is normally kept, but a factory reset or a
cross-version flash can clear it. Back up anything stored locally on the panel first.
Still stuck? Send us three things
Message our support team with (1) the model code and SN, (2) the build number currently on the board, and (3) a photo of the error or of the touch test. With those three we can usually identify the right package in a single reply — and where a board needs a specific calibration value, we send the tool and the settings for that model. Contact our team or request it from the quote form on this page.